How to Prepare Walls Before Painting: The Master Craftsman’s Checklist
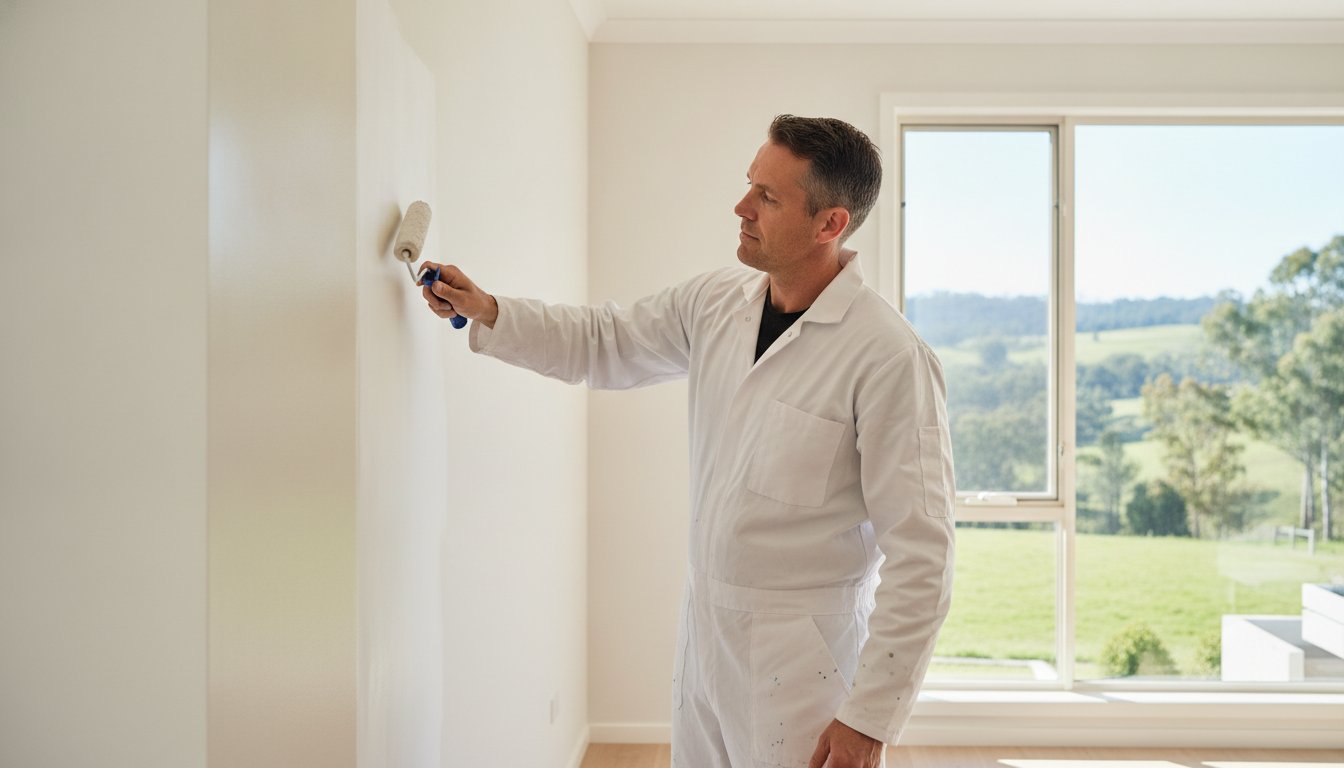
The most expensive tin of premium paint in the world cannot hide a surface that hasn't been properly respected. While it's tempting to rush straight to the colour, the true artistry of a professional finish lies in the silent, meticulous hours spent on the foundations. Learning how to prepare walls before painting is the difference between a temporary fix and a lasting legacy for your home. It's natural to feel overwhelmed by the physical labour or confused by the dizzying array of fillers and primers, especially when you fear the paint might start peeling in only a few years.
We believe your home is a sanctuary that deserves to be preserved with the highest standards of care. This master craftsman’s checklist will provide you with the confidence that the job is being done right. We will walk through the essential steps of cleaning, repairing, and priming to ensure a smooth, durable finish, while helping you recognise when a project exceeds the limits of DIY and requires a professional hand.
Key Takeaways
- Understand why 80% of a professional finish is achieved before the tin is even opened, ensuring your home's legacy is protected against the 'peel problem'.
- Learn the proper technique for clearing your canvas, including the essential use of sugar soap to strip away grease and dust.
- Master the art of repairing imperfections by raking out cracks and applying high-quality fillers for a perfectly level, stable surface.
- Discover the secret to a flawless bond by learning how to prepare walls before painting through meticulous sanding and dust removal.
- Recognise when a project requires a master’s touch, particularly when dealing with large-scale repaints or the safety risks of lead-based paint in older homes.
Why Wall Preparation is the Invisible Foundation of a Lasting Finish
A master painter knows a secret that many homeowners overlook. The true quality of a finish isn't found in the final brushstroke, but in the hours of quiet labour that precede it. In fact, roughly 80% of a professional paint job's durability and aesthetic appeal is determined before the first tin of paint is even opened. Understanding how to prepare walls before painting is not merely a technical requirement; it is an act of preservation. It ensures that the sanctuary you call home remains protected and beautiful for years to come.
In Australia's harsh climate, the stakes are remarkably high. We often encounter the 'Peel Problem', where paint begins to flake or bubble within just a few seasons. This failure rarely stems from the paint itself. Instead, it's almost always a result of a compromised substrate. Proper preparation ensures the wall is clean, dry, and sound. Without this foundation, the bond between the surface and the coating will eventually fail under the stress of our intense summer heat and coastal humidity.
The Difference Between a $2,000 and a $5,000 Finish
The disparity between a budget job and a premium finish isn't just about the brand of paint used. It's about the investment in the invisible. A 'quick lick of paint' might mask imperfections for a few months, but it's a false economy that leads to costly repairs later. Research indicates that labour accounts for 70% to 85% of a total project's cost, and a significant portion of that time should be spent on the surface. A master craftsman’s standard involves applying a high-quality Primer or undercoat to create a uniform surface. This prevents premature peeling and ensures the final colour looks rich and consistent across the entire room.
Identifying Common Wall Defects in Central Coast Homes
Every home tells a story through its walls. In older properties across the Central Coast and Gosford, we often see a mix of hairline cracks and deeper structural issues. It's vital to distinguish between the two. While hairline cracks are often just a sign of the house breathing, larger gaps may require more intensive repair before you even think about how to prepare walls before painting. Our coastal environment also introduces humidity, which can trap moisture behind existing paint layers. We must also assess whether previous coatings were oil or water-based. Applying modern acrylics over old, chalky oil paint without the right preparation is a recipe for immediate failure. Taking the time to assess these defects now protects your home's legacy and your financial investment.
Step 1: Clearing the Canvas – Cleaning and Surface Assessment
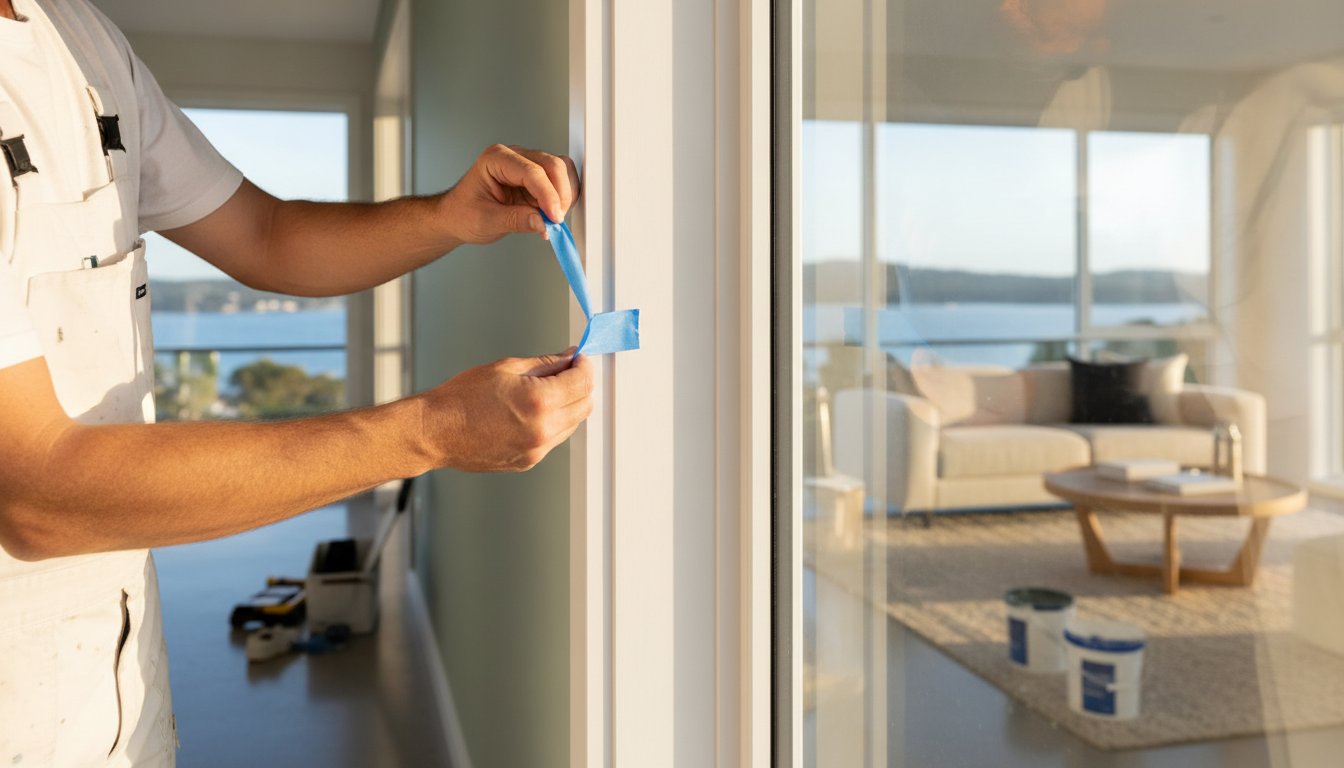
Before you can begin the transformation of your space, you must first respect the environment. A master craftsman never works in a cluttered field. Begin by removing all furniture from the room or grouping it in the centre and covering it with high-quality drop sheets. Take the time to unscrew switch plates, remove door hardware, and take down curtain rods. This ensures an unobstructed work area and prevents the accidental splatters that often betray a rushed DIY job. It's about more than just convenience; it's about protecting the intricate details of your home's architecture.
Once the room is clear, the real work of understanding how to prepare walls before painting begins. Every wall carries an invisible history of fingerprints, cooking grease, and settled dust. If you paint over these contaminants, the new coating will struggle to bond. Pay special attention to 'high-traffic' zones. These are the areas around light switches, door frames, and skirting boards where oils from hands and floor wax tend to accumulate. A clean substrate is the only way to guarantee the longevity of your investment.
The Sugar Soap Standard for Interior Walls
For professional results, household detergents aren't enough. We use a high-quality sugar soap solution because it is specifically formulated to strip away stubborn grease without leaving a soapy film. The technique is vital. Always wash from the bottom of the wall to the top. This might feel counterintuitive, but it prevents dirty water from running down a dry wall and leaving permanent streak marks. After scrubbing, rinse the surface thoroughly with fresh water. If you leave chemical residue behind, your new paint may bubble or fail to dry evenly. If the scale of this physical labour feels daunting, you can always rely on professional Central Coast painters to handle the heavy lifting with precision.
Treating Mould and Mildew in Coastal Environments
In our beautiful Central Coast environment, coastal humidity is a constant companion. This often leads to mould growth, particularly in bathrooms, kitchens, and south-facing rooms. You must kill mould spores, not just wash them away, because remaining invisible roots will quickly colonise your new paint film from beneath. For pre-paint sanitisation, use a solution of one part bleach to three parts water. Apply it to the affected areas and let it sit for at least fifteen minutes before rinsing. This ensures the surface is biologically sound. Finally, patience is your best tool. Ensure the walls are completely dry to the touch before moving to the repair phase. Any moisture trapped behind the paint will eventually force its way out, causing the very peeling you are working so hard to avoid.
Step 2: Repairing Imperfections – Filling, Patching, and Sanding
Once your walls are stripped of grease and dust, the true character of the substrate reveals itself. Every hairline crack, every forgotten nail hole, and every accidental furniture scuff becomes visible under the light. This stage of how to prepare walls before painting is where the master craftsman truly earns their title. It is a process of restoration that requires patience and a keen eye for detail. Repairing these imperfections correctly ensures that your final coat of paint looks like a seamless skin rather than a mask over a damaged surface.
Before reaching for the filler, you must ensure the repair will last. For larger cracks, we often 'rake out' the loose plaster using the edge of a scraper. This involves slightly widening the crack to remove unstable material and creating a firm 'V' shape that allows the new filler to bond deeply with the wall. If you simply wipe filler over a hairline crack, the natural movement of your home will likely cause it to reappear within months. By creating a stable base, you are investing in the long-term integrity of your home's interior.
Choosing the Right Filler for the Job
Not all fillers are created equal. Using the wrong product can lead to shrinking, cracking, or patches that stand out after painting. We select our materials based on the specific needs of the surface:
- Lightweight Fillers: These are ideal for small dents, scratches, and tiny nail holes. They dry quickly and require minimal sanding.
- Heavy-Duty Patching Compounds: For larger plaster repairs or deep gouges, these compounds provide the necessary structural strength and don't shrink as they cure.
- Gap-Filling Sealants: We use flexible acrylic caulk for the junctions between walls and timber, such as skirtings and architraves. This allows for slight movement without cracking.
The Art of the Seamless Patch
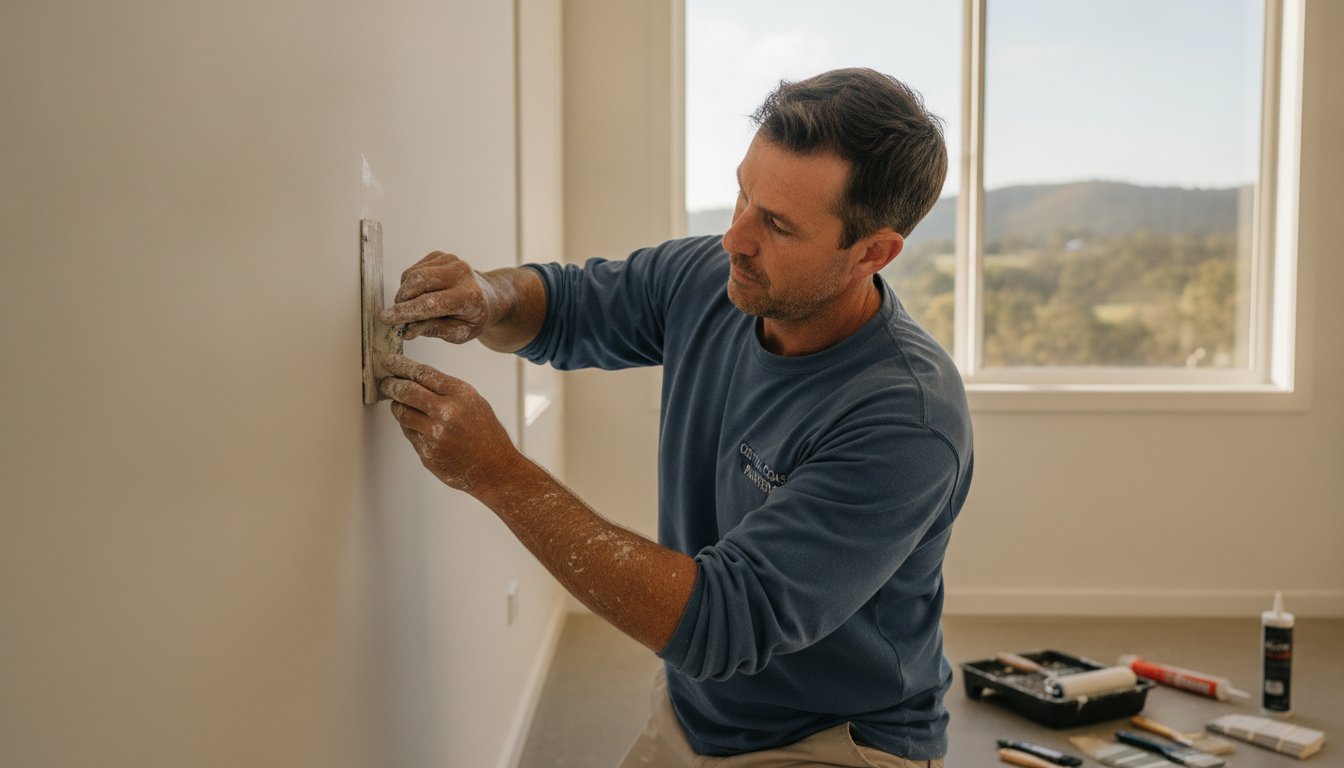
The secret to a repair that disappears is the 'feathering' technique. Instead of stopping the filler at the edge of the hole, use a flexible putty knife to spread it slightly wider than the defect, tapering the edges until they are paper-thin. This creates a gradual transition that the eye cannot detect. For deeper repairs, it's best to apply the filler in thin layers. Professional painters often apply a second 'skim' coat once the first has dried to account for any minor shrinkage. This prevents 'flashing', a common issue where the repair is visible through the paint because it wasn't perfectly flush with the surrounding wall. If you encounter 'popped' drywall screws, don't just cover them. Drive them back in and add a new screw nearby to secure the board properly before filling both holes for a permanent fix.

Step 3: The Final Foundation – Sanding and Priming for Perfection
After your repairs have cured, we arrive at the stage that separates a standard DIY effort from a work of art. Sanding is often viewed as a chore, yet it is the critical moment where we create the physical 'key' necessary for paint to grip. Without this mechanical bond, even the most expensive coatings are prone to failure. Mastering how to prepare walls before painting requires a commitment to this dusty, methodical phase. It is the final opportunity to ensure the surface is truly level and ready to receive its new identity as a protected sanctuary.
Once the sanding is complete, your walls will be covered in a fine powder. This dust is the enemy of a professional finish. If left behind, it acts as a barrier, preventing the paint from actually touching the wall substrate. We meticulously remove every trace using a damp microfibre cloth or a specialised tack rag. Only when the surface is surgically clean can we move to the priming phase. This is where we seal the history of the wall and create a uniform canvas for the final colour to shine.
Sanding Techniques for a Master Craftsman’s Result
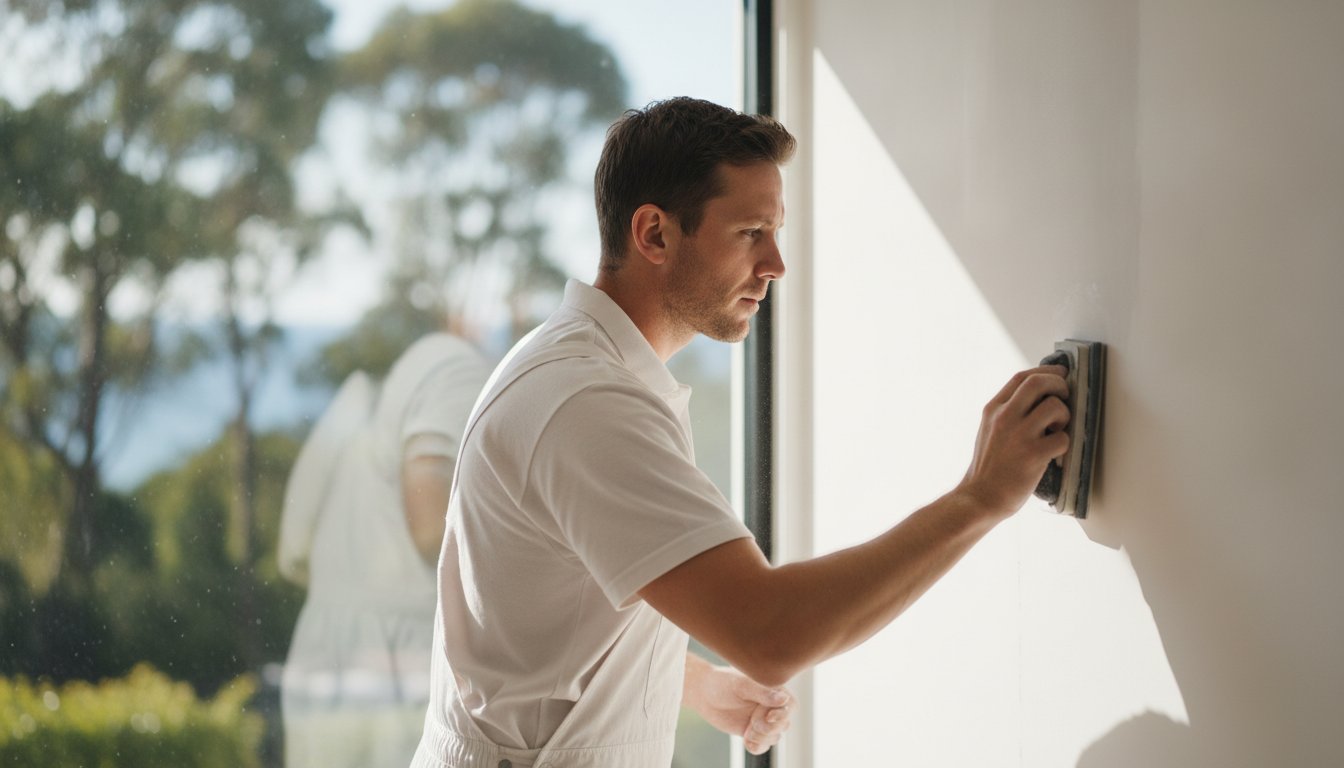
Choosing the right abrasive is a matter of precision. For most interior wall preparation, we recommend a 120 to 150 grit sandpaper. This is coarse enough to level out filler but fine enough to avoid leaving visible gouges in the plaster. For large, flat areas, pole sanding is essential. It allows for consistent pressure and a much flatter result than hand sanding alone. We also prioritise safety during this phase. Modern standards, such as the 50 micrograms per cubic metre limit for respirable silica dust, remind us that professional dust control is vital for a healthy home. The soul of the room is often found in the details, and areas of door and architrave painting require careful hand-sanding to ensure the finish is uniform from floor to ceiling.
Priming: When and Why it is Non-Negotiable
Priming is the bridge between the substrate and the finish. When you have applied new plaster or repairs, these areas are highly porous. They will 'suck' the moisture out of your paint, leading to an uneven sheen known as flashing. A high-quality primer seals these repairs, ensuring uniform colour absorption across the entire surface. For homes with old water marks or tannin bleed from timber, a stain-blocking primer is non-negotiable. This step ensures the long-term beauty of your ceiling and wall painting central coast. Always let the primer cure fully according to the manufacturer's instructions before proceeding. If you want to ensure every step is handled with expert care, get in touch with our master painters today.
Navigating Complex Prep: When to Consult a Professional Painter
While mastering how to prepare walls before painting empowers you to take ownership of your home’s aesthetic, certain scenarios demand the intervention of a master craftsman. It's vital to assess the scale of your ambition. What begins as a single room can quickly evolve into an overwhelming full house repaint that consumes your weekends for months. Beyond the physical toll, you must consider the opportunity cost. Your time is a finite resource. A professional team provides the speed and surgical precision needed to transform your space without the prolonged disruption of a DIY project.
The condition of the substrate also serves as a critical guide. If you notice persistent peeling or bubbling that returns despite your best efforts, it may indicate deeper structural issues like rising damp or foundation movement. In these instances, simply applying more paint is a temporary fix for a permanent problem. A professional assessment ensures that you aren't just masking defects, but protecting the long-term legacy of your property. Sometimes, the most responsible choice a homeowner can make is recognising when a task requires a specialised set of hands.
The Lead Paint Warning for NSW Homeowners
Safety must always be your primary concern, especially in older Gosford and Central Coast properties. For any home built before 1978, there is a significant risk that underlying layers contain lead-based paint. Sanding these surfaces without professional containment is dangerous. Lead dust is toxic to families and pets. Federal regulations, such as the EPA RRP Rule, mandate that paid work disturbing lead paint must be performed by certified firms. As of 2026, enforcement has been tightened, with civil penalties reaching up to $46,989 per violation, per day. Hiring a trusted local painter central coast provides the peace of mind that comes with HEPA-filtered sanding and expert hazardous material management.
Achieving a Level 5 Finish
There is a world of difference between a wall that looks "fine" and one that achieves a Level 5 finish. This standard represents the pinnacle of the trade, requiring a thin skim coat of joint compound over the entire surface to create a perfectly uniform texture. It is nearly impossible to achieve this with a hand-sander and a bucket of filler. We utilise professional-grade dustless sanders and high-end sprayers to create a surface that feels like silk and handles light with absolute consistency. If you are ready for a flawless transformation that honours the heart of your home, get a professional quote for your living room painting central coast. Let us provide the safe pair of hands your sanctuary deserves.
Transforming Your Sanctuary with Lasting Artistry
Realising a flawless finish is about more than just aesthetics; it is about the long-term protection of your home's legacy. By understanding how to prepare walls before painting, you have taken the first step toward a result that won't just look beautiful today, but will endure the test of time. We've explored how meticulous cleaning, precise repairs, and the right primer create the invisible foundation every sanctuary deserves. Whether you are tackling a single room or navigating the complex safety requirements of an older property, the right approach makes all the difference.
As specialists in high-end residential interior restoration, we bring over 28 years of Master Craftsman experience to every project. We are locally owned and operated right here in Gosford, providing a safe pair of hands for your most valued asset. If the scale of your project feels daunting, or you simply desire a Level 5 finish that only professional equipment can provide, we are here to help. Request Your Professional Colour Consultation with Martin today. Your home is your sanctuary, and it deserves nothing less than perfection.
Frequently Asked Questions
Do I really need to wash my walls before painting if they look clean?
Yes, washing is essential because invisible contaminants like skin oils and cooking vapours accumulate over time. If you skip this step, your new coating won't bond effectively to the substrate. A quick wipe with sugar soap ensures the surface is chemically receptive. It's a small investment of time that prevents the heartbreak of paint failure later on.
Can I just paint over old wallpaper if I'm in a hurry?
Painting over wallpaper is generally a mistake that leads to visible seams and eventual peeling. The moisture in the paint can soften the wallpaper adhesive, causing the paper to bubble or lift away from the wall. For a professional, lasting result, it is always better to strip the paper and properly address the plaster beneath. This preserves the integrity of your home's interior.
What is the best way to fix large holes in my plasterboard walls?
The best way to fix large holes is to use a dedicated plasterboard repair patch or a "California patch" made from a scrap piece of board. Simply filling a large void with compound will lead to cracking and shrinking. By using a solid piece of plasterboard, you create a stable foundation that can be feathered out with filler for a seamless, invisible repair.
How long should I wait for filler to dry before I start sanding?
Most lightweight fillers are ready for sanding within two to four hours, but deep repairs may require a full 24 hours to cure completely. Environmental factors like the humidity in Gosford can also slow down the drying process. Always check the manufacturer’s instructions and ensure the patch is hard and white before you begin sanding to avoid dragging the filler out of the hole.
Is it necessary to prime a wall if I'm using a 'paint and primer' in one?
While these products are convenient, they are rarely a substitute for a dedicated primer when you are learning how to prepare walls before painting. New plaster, repairs, and stained areas have different levels of porosity. A separate primer seals these spots more effectively, preventing "flashing" and ensuring your final colour is deep and uniform across the entire wall surface.
What happens if I don't remove all the dust after sanding?
If you leave sanding dust on the wall, your paint will sit on top of the powder rather than bonding to the substrate. This creates a weak layer that will eventually flake or peel away. Part of knowing how to prepare walls before painting is meticulous dust removal. Use a damp microfibre cloth to ensure every trace is gone before the first drop of paint touches the wall.
How do I know if my old paint is lead-based?
The only certain way to identify lead-based paint is through a chemical test kit or by hiring a professional to conduct a laboratory analysis. In older Central Coast homes built before 1970, the presence of lead is highly likely. If the paint is flaking in a "crocodile skin" pattern, treat it with extreme caution and avoid any dry sanding until you have confirmed it is safe.
Can I use a regular vacuum cleaner to pick up sanding dust?
Using a standard household vacuum for fine drywall dust is a recipe for a broken motor. The particles are so small they pass through regular filters and clog the internal components. It is far better to use a shop vacuum with a high-efficiency particulate air (HEPA) filter or to rely on the damp cloth method to safely contain the dust within your home.